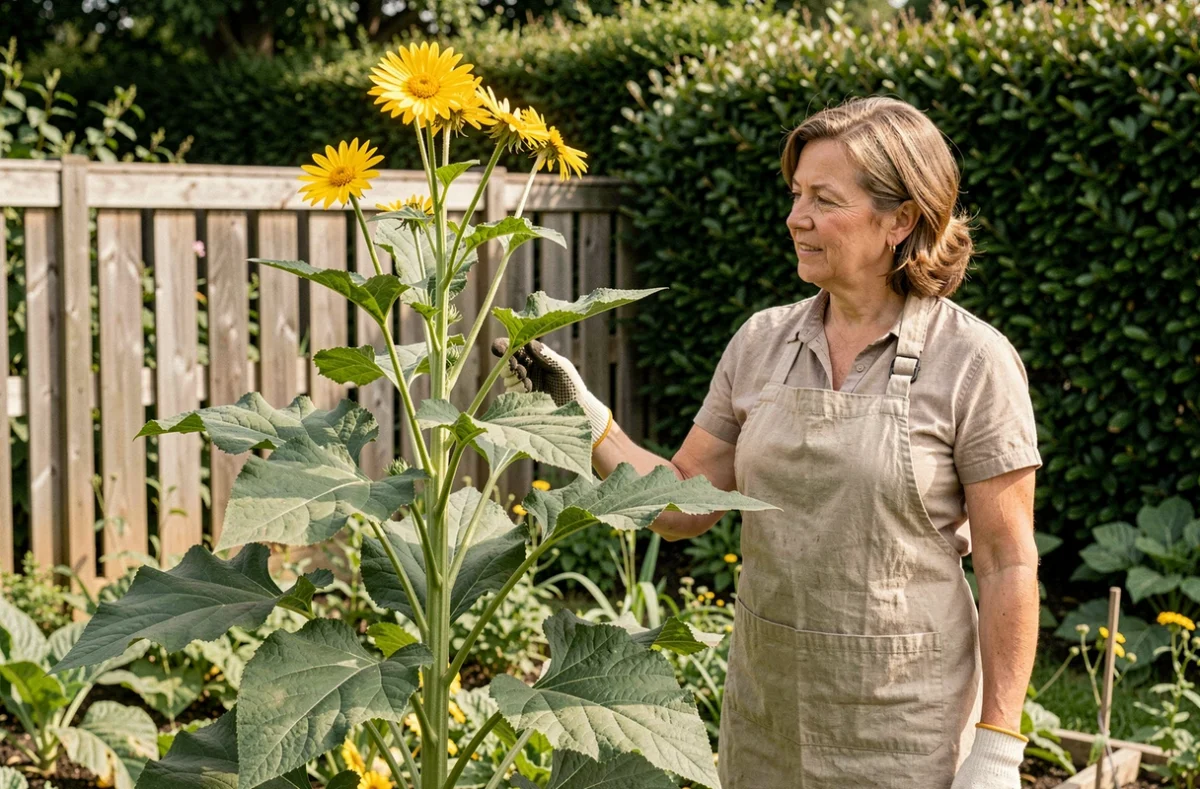
Jerusalem artichokes produce tubers without requiring constant care, but their vigorous growth poses a real landscaping challenge. Growing Jerusalem artichokes in the garden means accepting a plant that spreads across the soil and whose stems reach two to three metres tall. Their bright yellow autumn blooms add an ornamental touch that few vegetables can match. The key is to plan for the plant’s spread so you can enjoy its benefits without letting it take over.
A Jerusalem artichoke border in the garden: contain its growth without losing the blooms
Any tubers left in the ground will sprout again the following year. Tilling the soil breaks them up and spreads the plant beyond its intended area. Planting Jerusalem artichokes in open ground between rows of low-growing vegetables is practically an invitation for them to take over.
Setting aside a dedicated plot on the edge of the vegetable garden helps limit this risk. A root barrier buried about 40 centimetres deep works well. Alternatively, grow them in a large container, such as a masonry planter or half-barrel, to prevent them from spreading underground.
A Jerusalem artichoke border has benefits beyond the vegetable garden. Planted along a fence or at the back of a flower bed, the row acts as a natural windbreak and a leafy screen throughout the growing season. The yellow flowers that appear in late summer attract pollinators just as floral resources begin to dwindle. You don’t need to remove the flowers to get tubers: Jerusalem artichoke flowers serve a useful purpose without reducing the harvest.
Jerusalem artichokes: planting, soil and sunlight at a glance
The growing requirements are straightforward, but the difference between a successful planting and a failed one often comes down to two or three details in the preparation.
| Factor | Favourable conditions | Unfavourable conditions |
|---|---|---|
| Soil | Deep, well-drained, moderately fertile soil | Heavy, compacted clay soil or standing water |
| Sunlight | Full sun | Shade or prolonged partial shade |
| Planting depth | 10 cm | Shallow planting (risk of frost damage or drying out) |
| Spacing | 70 cm in all directions | Less than 50 cm (competition and overcrowding) |
| Planting time | March–April | Summer (dry soil and poor establishment) |
| Watering after mulching | Almost none in mulched soil | Excessive watering (tubers may rot) |
Jerusalem artichokes prefer fairly deep soil, but tolerate poor soils that other vegetables would struggle with. Planting them 10 cm deep and 70 cm apart is the most reliable approach. Earthing up the plants when they reach about 20 centimetres tall stabilises the stems and encourages tuber formation.
Jerusalem artichoke flowering and harvesting: two signs not to confuse
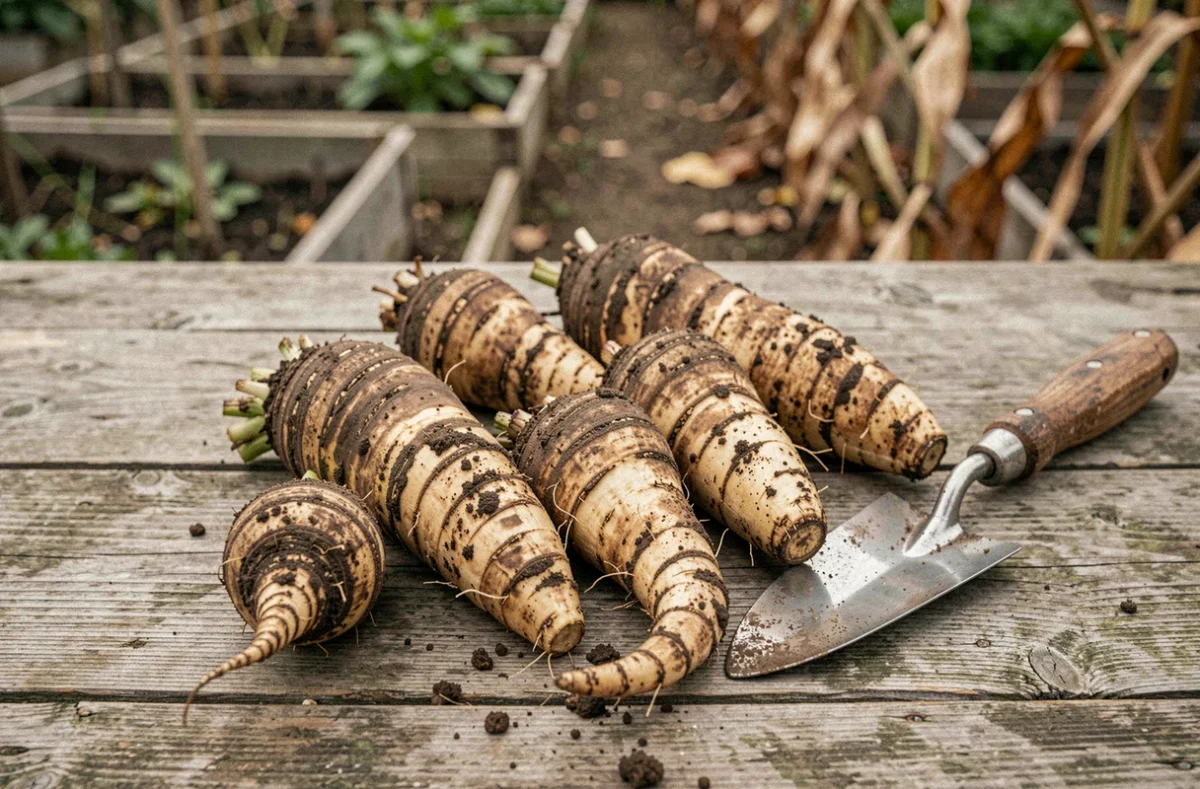
Flowering doesn’t mean the tubers are ready. Depending on the climate and variety, some plants flower late or barely at all, yet still produce normal tubers. Others flower profusely without yielding a better harvest.
The real sign of maturity is when the stems turn yellow and then die back in autumn. Once the above-ground growth has dried out, the tubers have finished growing. Check one plant before harvesting the whole plot to avoid digging them up too early.
Staggered harvesting and winter mulching
Jerusalem artichokes don’t keep well once they’ve been dug up. They wilt within a few days in the open air. The most effective approach is to leave them in the ground and harvest as needed from autumn through to the end of winter.
- Cut the dry stems a few centimetres above the ground, leaving a visible marker to help you find the plants under the mulch
- Cover the plot with a thick layer of straw or fallen leaves to protect the soil from hard frost and make digging easier in cold weather
- Dig up the tubers with a digging fork rather than a rototiller, which breaks up small tubers and causes unwanted regrowth the following year
Harvesting with a digging fork helps prevent fragments from spreading and reduces weeding the following spring. This small change in technique can make a big difference to how you manage the plot over several years.
Jerusalem artichoke care: what matters and what doesn’t
Jerusalem artichokes are rarely affected by pests or diseases. Weed around the plants early on, earth them up when they reach 20 centimetres tall, and apply a generous layer of mulch—that’s all the care they need in most situations.
Once the plants are established, watering is rarely necessary in a temperate climate. In mulched soil, residual moisture is enough even during moderately dry summers. Too much water is far more likely to cause tubers to rot than a brief dry spell.
Pruning the stems during the growing season is only worthwhile if they shade neighbouring crops or risk being blown over. Cutting them back has no proven effect on the harvest. By contrast, leaving the above-ground growth intact until it dies back naturally allows the plant to complete its tuber-growing cycle.
Suitable companion plants for Jerusalem artichokes
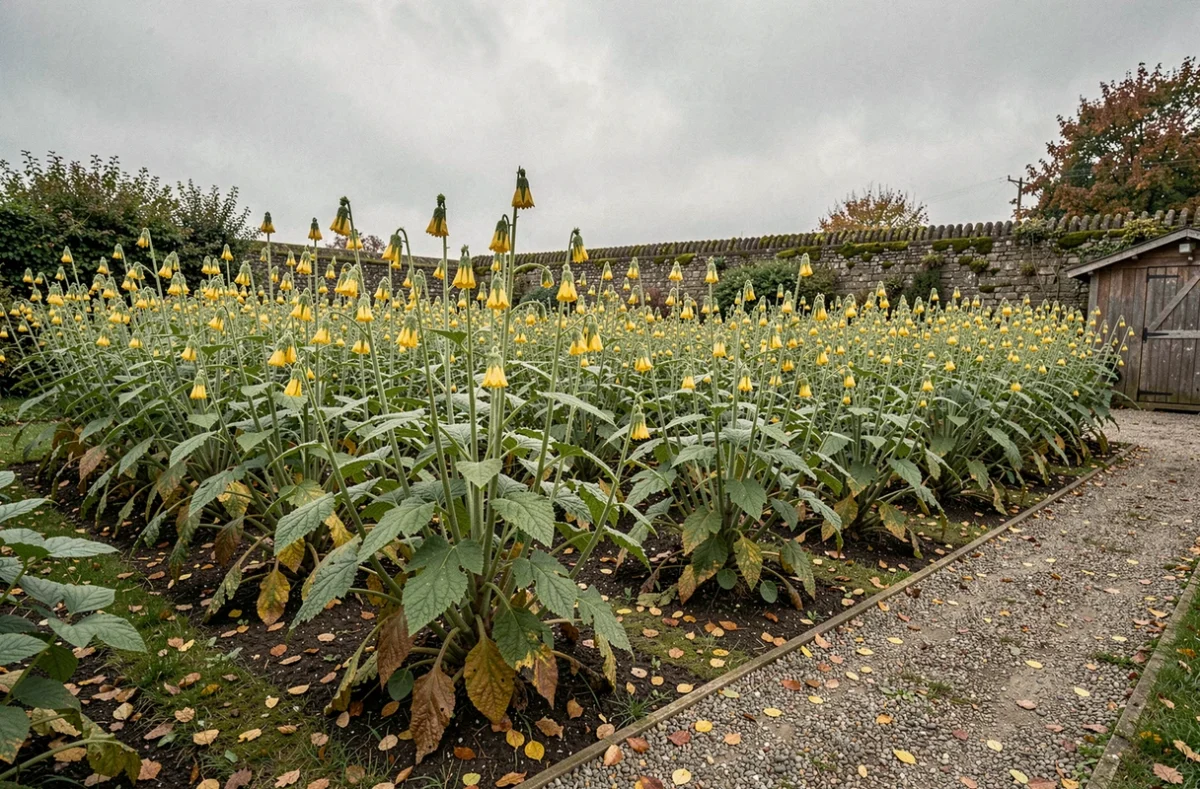
The tall stems cast dense shade. Low-growing vegetables such as lettuce and radishes suffer if planted too close. Companion planting works best with plants that tolerate partial shade or crops that can be harvested before the Jerusalem artichokes reach their full height.
- Spring broad beans or peas, harvested before the shade becomes a problem
- Trailing squash planted along the edge, where they benefit from the cool soil at the base of the stems
- Nasturtiums or marigolds, which cover the soil without competing with the tubers at depth
Crop rotation is simple: don’t plant Jerusalem artichokes in the same spot two years in a row to reduce the risk of the plot becoming an unintended monoculture. Leave the ground fallow for a year or plant a nutrient-hungry crop there, such as potatoes, to suppress regrowth and reset the soil.
Jerusalem artichokes are one of the few garden vegetables that offer a winter harvest, flowers that benefit pollinators and minimal maintenance. The only real challenge is giving them enough space to spread without encroaching on the rest of the vegetable garden.