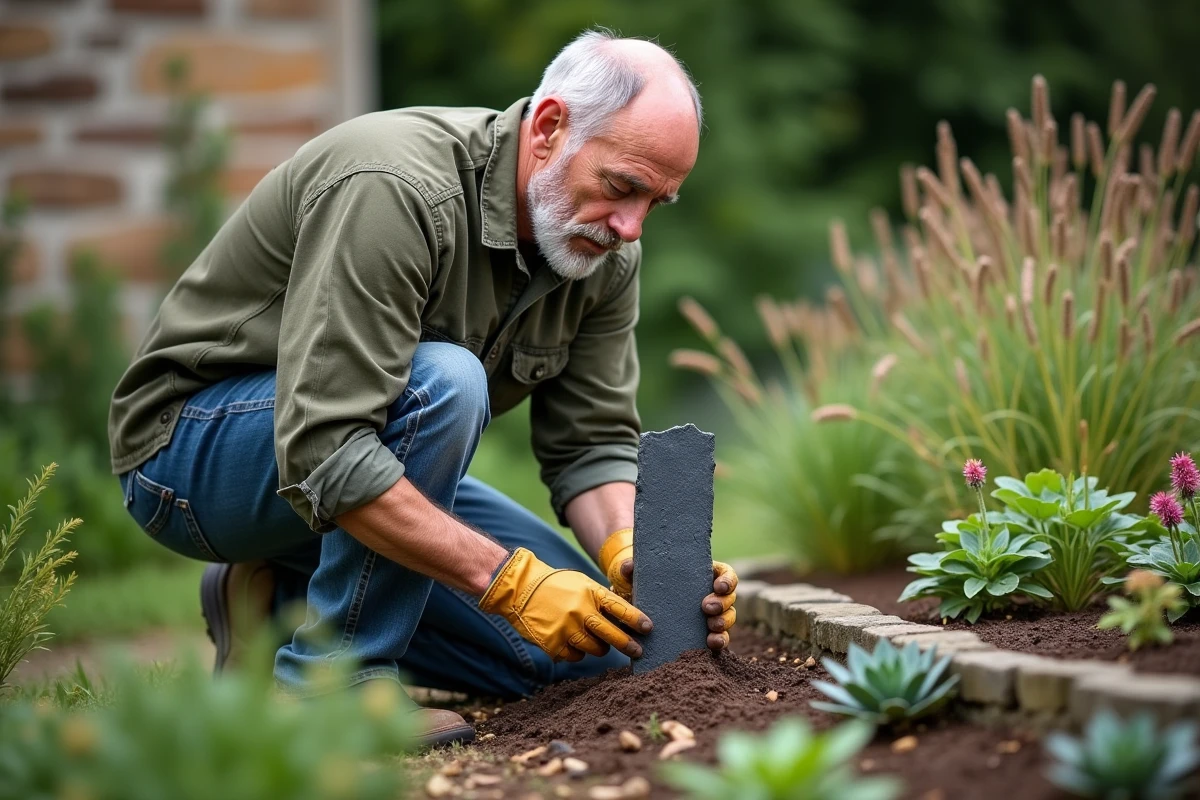
Slate stakes are appealing for their raw appearance and their ability to structure a garden without resorting to concrete or plastic. Their installation seems simple, but the layered nature of this rock requires precautions that most guides summarize in a few lines. The soil, slope, local climate, and thickness of the stakes determine the durability of the structure over several years.
Slate stakes on sloped terrain: prevent slipping before planting
The majority of tutorials describe installation on flat or slightly sloped ground. In a steep garden, the constraints change radically. Runoff water exerts lateral pressure on each stake, and saturated soil loses its cohesion after a few rainy episodes.
To counter this pressure, stakes must be buried deeper than on flat ground. On a marked slope, the buried portion should represent at least one-third of the total height of the stake, compared to one-quarter on horizontal soil. A bed of crushed gravel at the bottom of the trench facilitates drainage and prevents water from stagnating at the base of the rock.
The orientation of the stakes also matters. Planted perpendicular to the slope (and not absolutely vertical), they resist gravity better. Some landscapers install a staggered row of stakes on two levels to create a micro-terrace effect, which slows erosion while maintaining a natural appearance.
- Dig the trench following the contours of the land, not in a straight downward line.
- Compact the backfill in successive layers of a few centimeters, alternating soil and gravel.
- Leave a few millimeters of space between each stake to allow water to drain without creating a dam.
To delve deeper into the step-by-step method, you can consult the detailed explanations on how to install slate stakes with La P’tite Graine, which also covers more traditional configurations.
Choosing slate stakes: thickness, origin, and frost resistance
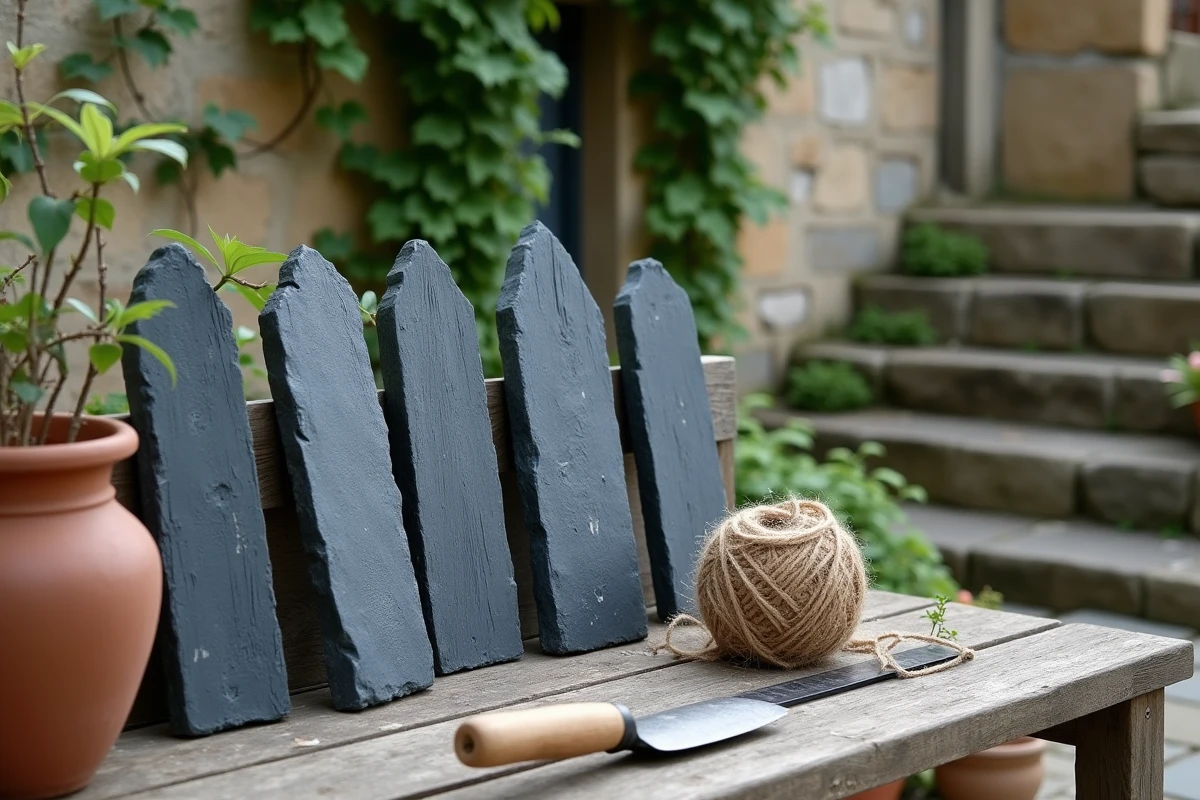
Not all slates are created equal. The varieties available on the market differ in thickness, density, and behavior in response to freeze-thaw cycles. A stake that is too thin (less than two centimeters thick) easily breaks during handling or after a harsh winter.
A comparison by the National Union of Natural Stone Producers published in April 2026 indicates that Spanish slate has a wind resistance that is 25% superior to French varieties under simulated conditions. This result mainly concerns exposed installations, such as edge borders on hillside crests or low fences by the sea.
In an oceanic climate, cracking remains the main risk. The Technical Institute of Quarries and Natural Stone Materials (ITC-MPN) observed in November 2025 that 70% of installations not protected by organic mulch suffer from cracks during early frosts. A mulch of bark or wood chips at the base of the stakes limits sudden temperature variations at the soil level.
Concrete criteria for selecting your stakes
The recommended minimum thickness is around three centimeters for a decorative border, more for structural use on a slope. Common lengths range from 50 cm to 2 meters. A 1-meter stake is suitable for most flowerbed borders; beyond that, a reinforced anchoring should be planned.
Check for the presence of pyrite traces on the surface. These inclusions oxidize over time and produce orange hues. This effect is sought after by some, but it can clash in a very mineral design where a uniform slate tone is desired.
Installing slate stakes vertically: the anchoring depth is crucial
Vertical installation is the most common for creating borders along a path, delimiting a flowerbed, or structuring a gravel area. The temptation is to drive the stakes directly into the loose soil. This approach works for a few months, then the stakes topple due to frost, wind, or simply soil settling.
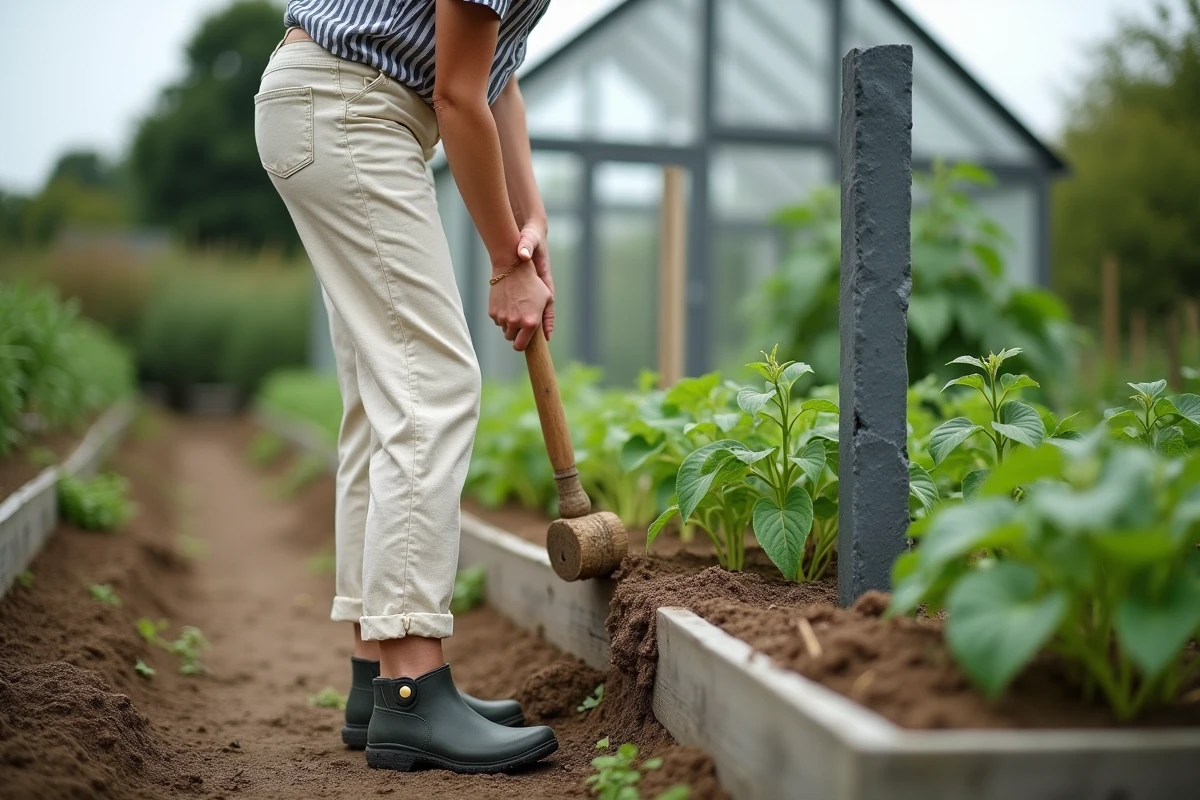
A solid anchoring relies on a calibrated trench and mineral bracing. The trench should be a few centimeters wider than the stake on each side. A base of gravel is laid, the stake is positioned, and then it is braced with a mixture of gravel and compacted soil layer by layer.
Aligning the stakes without a laser line
A simple string line stretched between two reference stakes is sufficient. Place the end stakes first, check their verticality with a level, then stretch a string at the top. The intermediate stakes align with this line.
For a more organic appearance, some gardeners intentionally offset the height of one stake out of three. This play of irregular heights mimics the appearance of natural slate outcrops. The result appears less rigid than a perfect alignment, especially in a rustic-style garden.
Slate and clay soil: a common case that complicates installation
Clay soil retains water and swells during wet periods. This movement exerts lateral pressure on the stakes and can gradually uproot them. Conversely, during dry periods, the clay shrinks and leaves voids around the anchoring.
In clay soil, the gravel bracing acts as a mechanical buffer. It absorbs some of the ground movements and maintains minimal drainage around the stake. Expect a thicker layer of gravel than on sandy or loamy soil.
It is also preferable to install the stakes in autumn when the soil is still soft but not waterlogged. Installing in the middle of summer on dry, hard clay makes digging difficult and does not allow for optimal bracing. Field reports vary on this point depending on the regions, but the September-October window often appears in the recommendations of landscape professionals.
A final often-overlooked point: the base of the stake should not rest directly on compact clay. A few centimeters of gravel under the stake are sufficient to prevent stagnant water from weakening the rock through capillarity. This simple precaution extends the lifespan of the installation by several years, regardless of the type of slate chosen.